Basic
For small sessions with friends.
€18.99/month
cancel monthly
Choose plan
- Players (guide value)approx. 4
- RAM8 GB
- vCores3
- NVMe30 GB
- 2 backup slots
Rent your own 7 Days to Die server: You pay for hardware, not slots. Build your base, survive in a world full of undead and set the world and the game rules on your own server.
€27.99 /month · approx. 8 players
Start with AdvancedIP address and port from your panelThis is how your server can appear in the server browser – at first as “Neuer Server von Nexthosting”. You change the name in the serverconfig.xml file. According to The Fun Pimps, you find servers in the in-game server browser, or you enter an IP address and port in two boxes.
Every plan includes DDoS protection, the panel and hosting in Germany. The plans differ in hardware – we do not limit slots.
For small sessions with friends.
cancel monthly
For regular groups and weekly sessions.
cancel monthly
For larger servers and more headroom.
cancel monthly
13th-generation Intel processorDDR4 memoryNVMe SSDData center in GermanyAvailability as set out in the Service Level Agreement
With monthly billing you can cancel monthly. Up to 15% cheaper when you pay in advance. Final prices, no setup fee. Player numbers are guide values – you set the maximum yourself.
Real screenshots from the game server panel. Everything runs in the browser – no FTP program and no SSH.
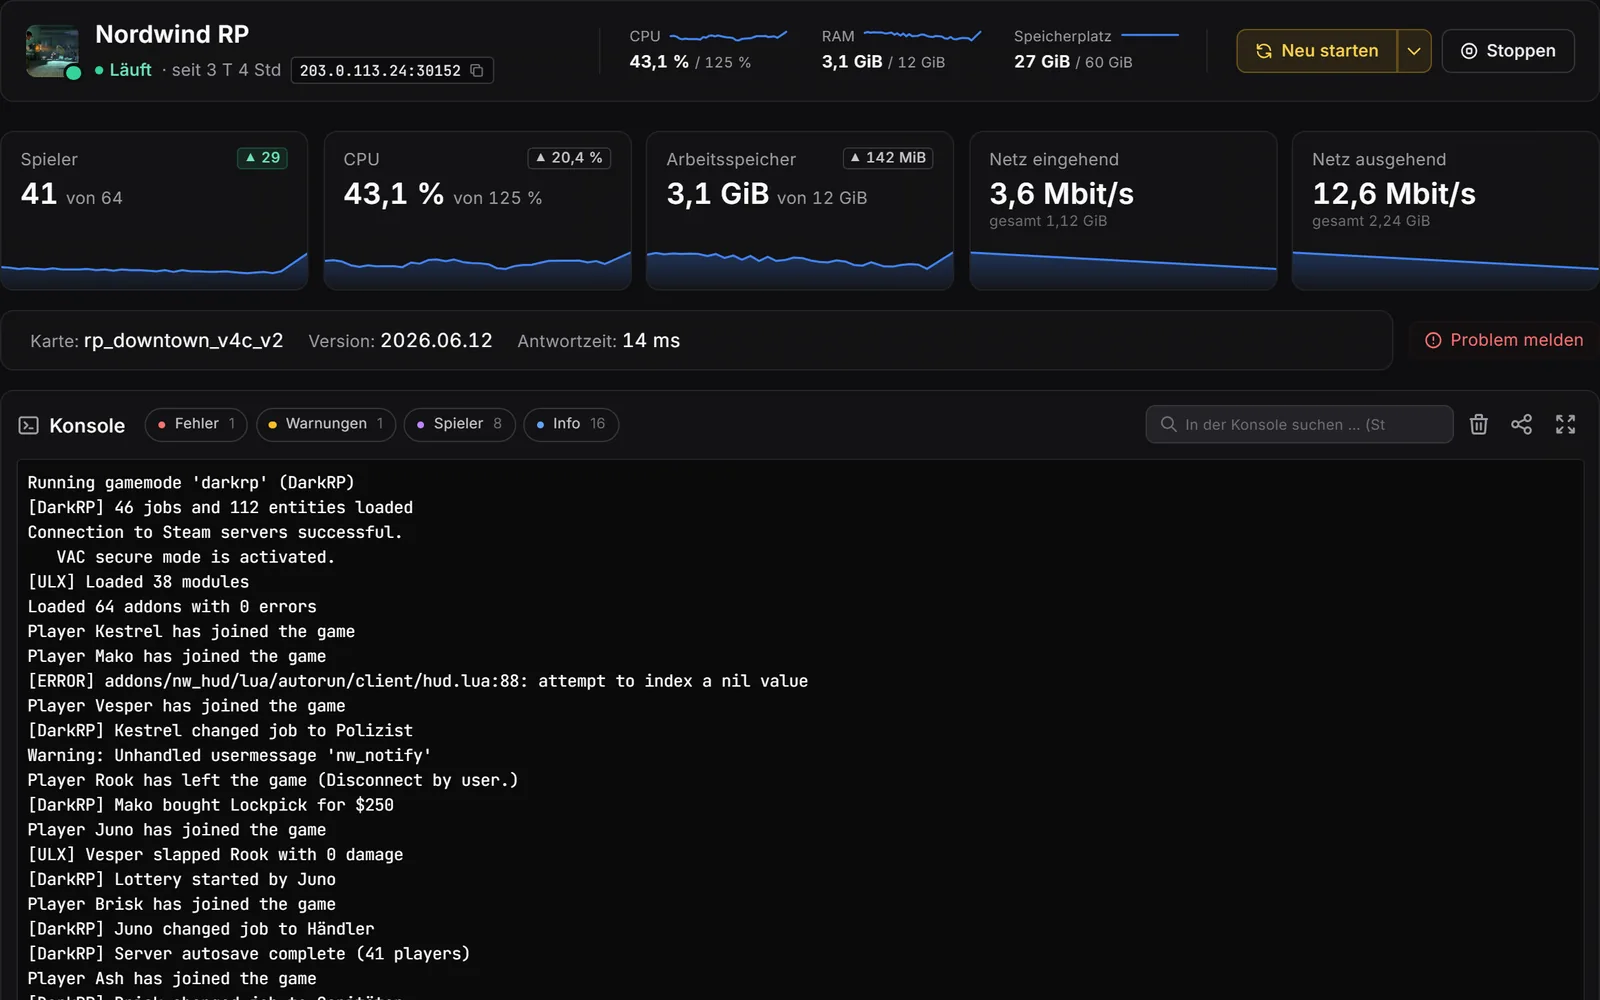
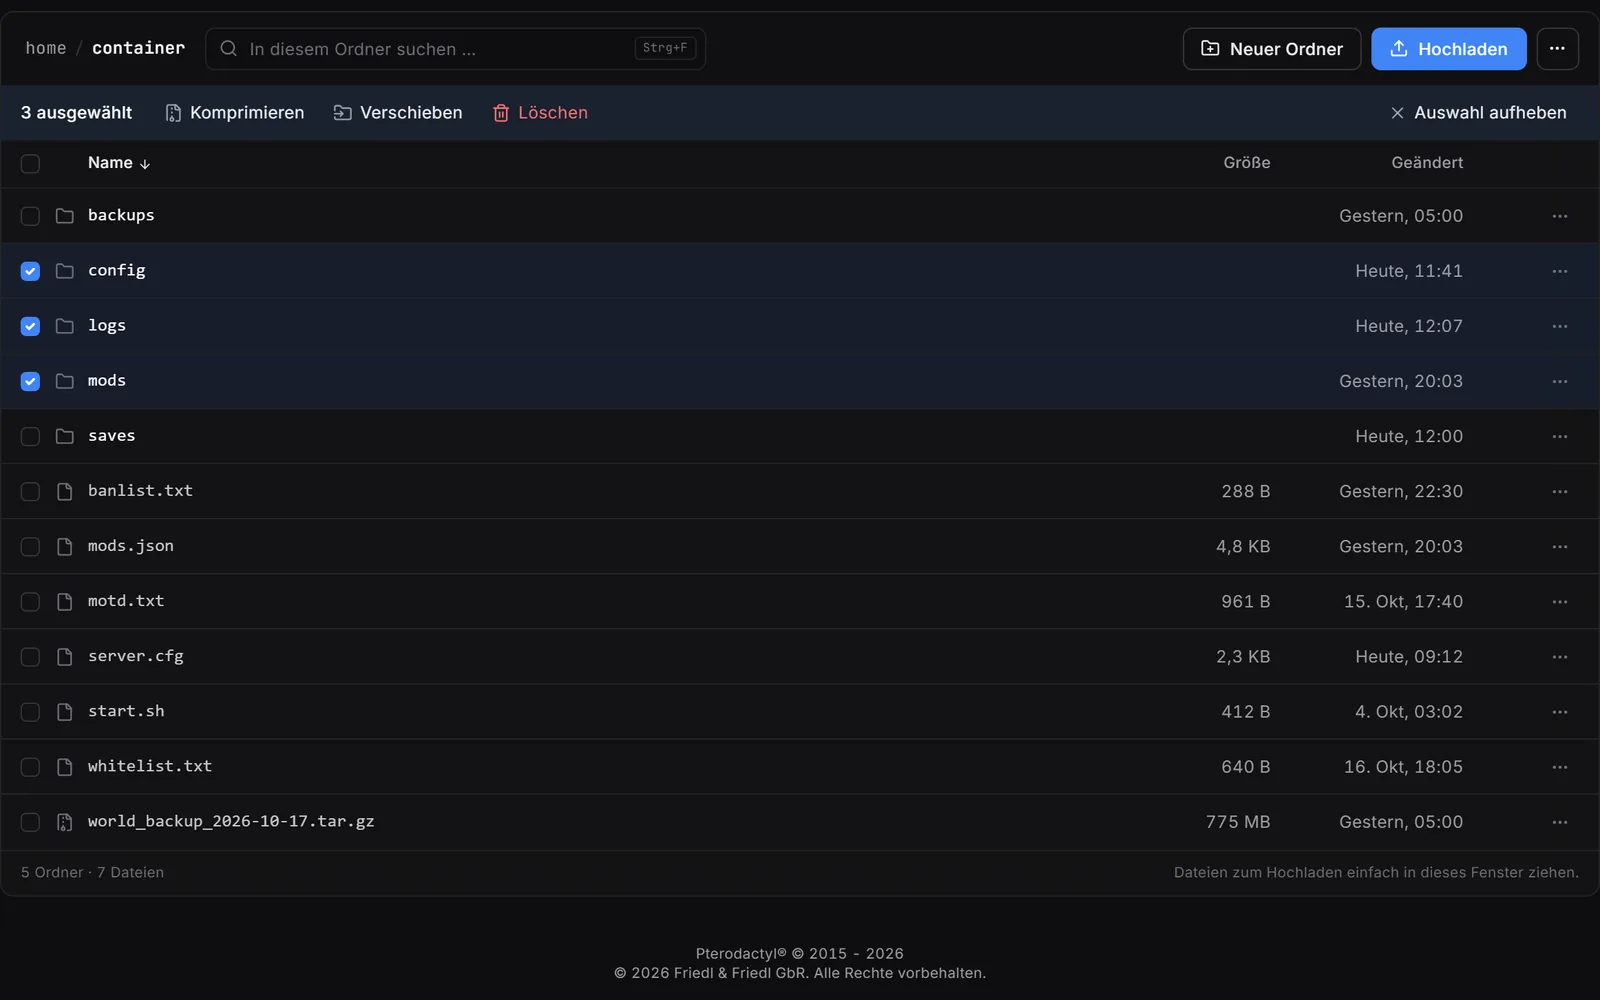
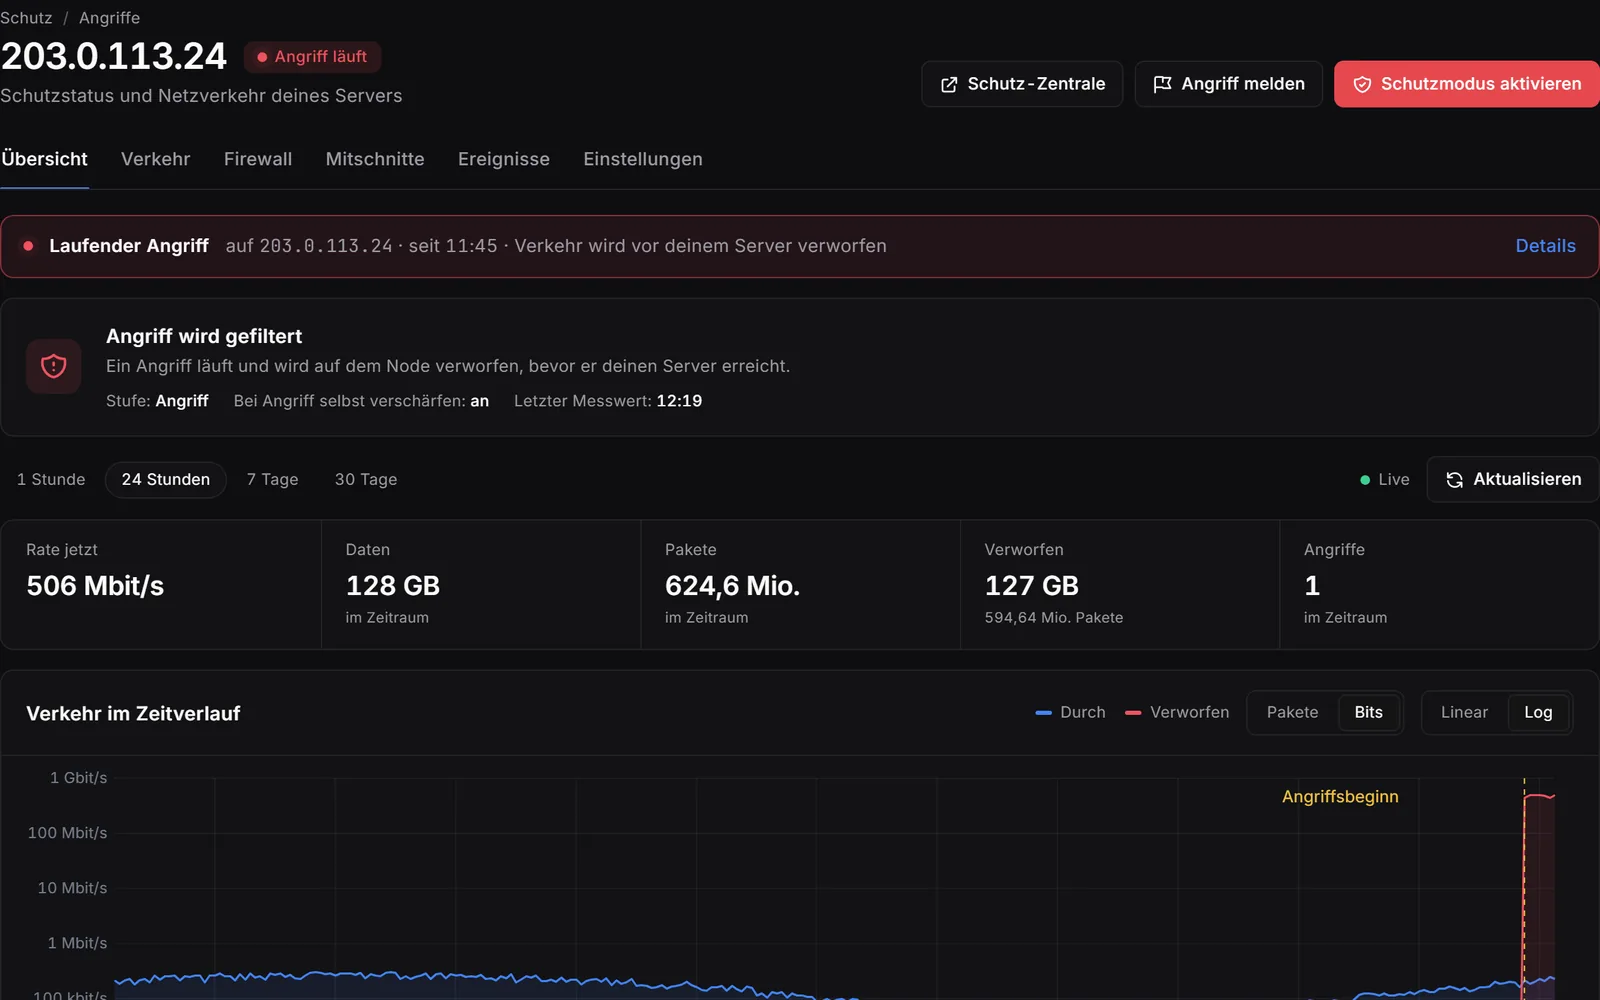
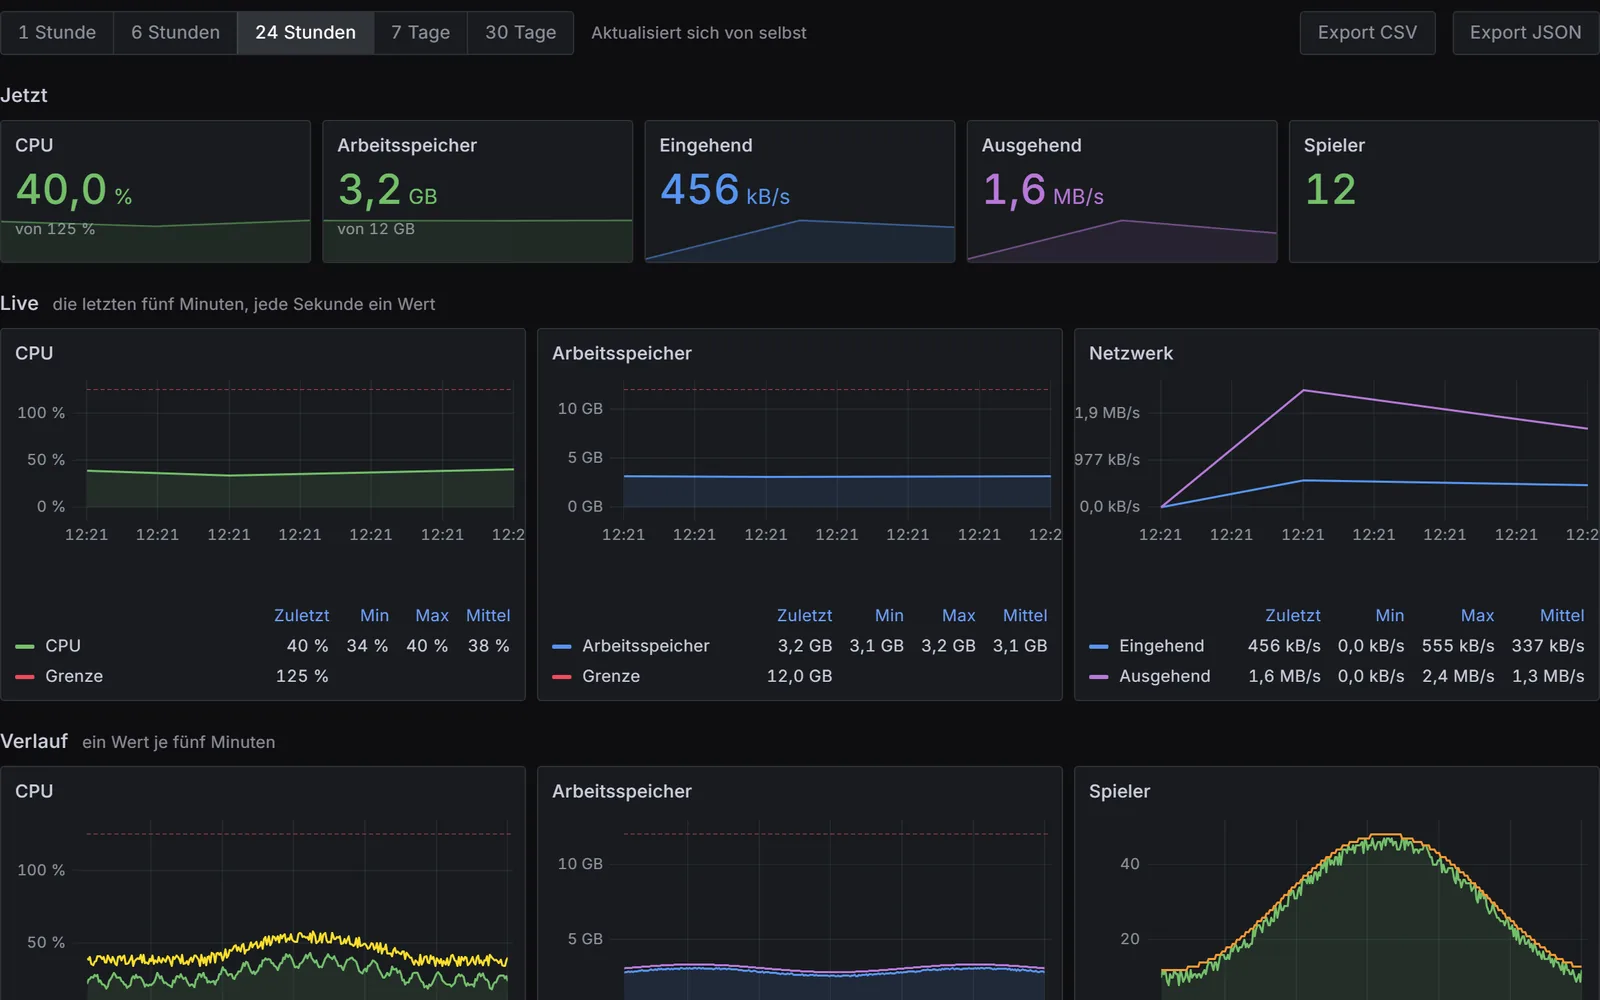
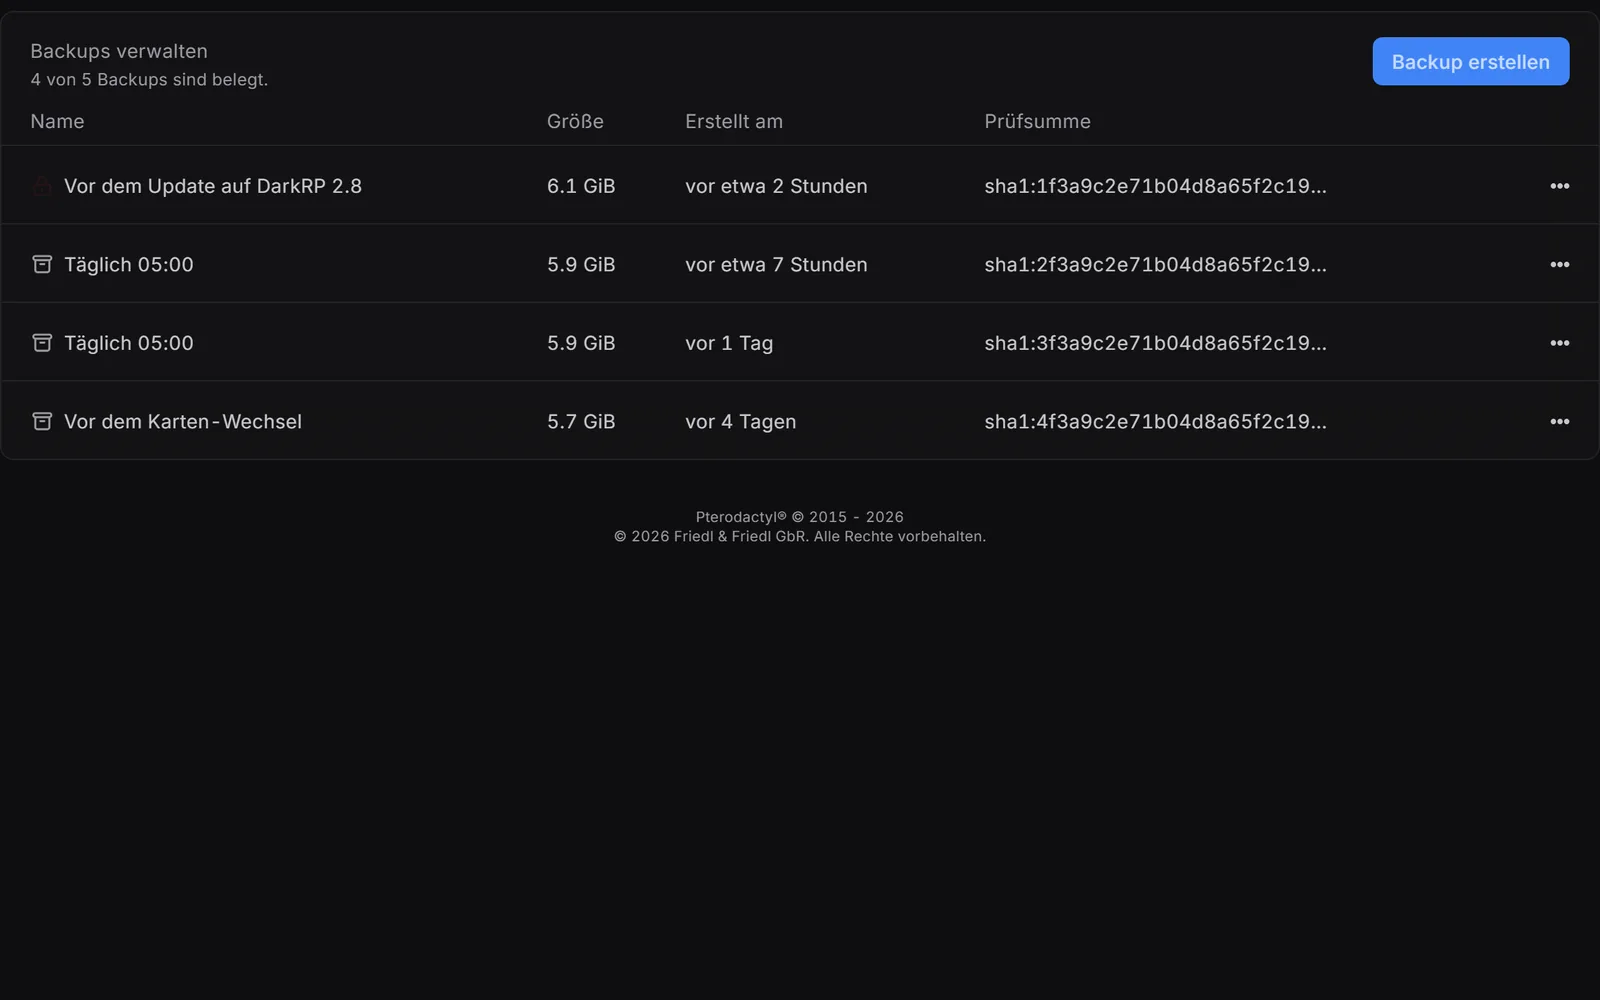
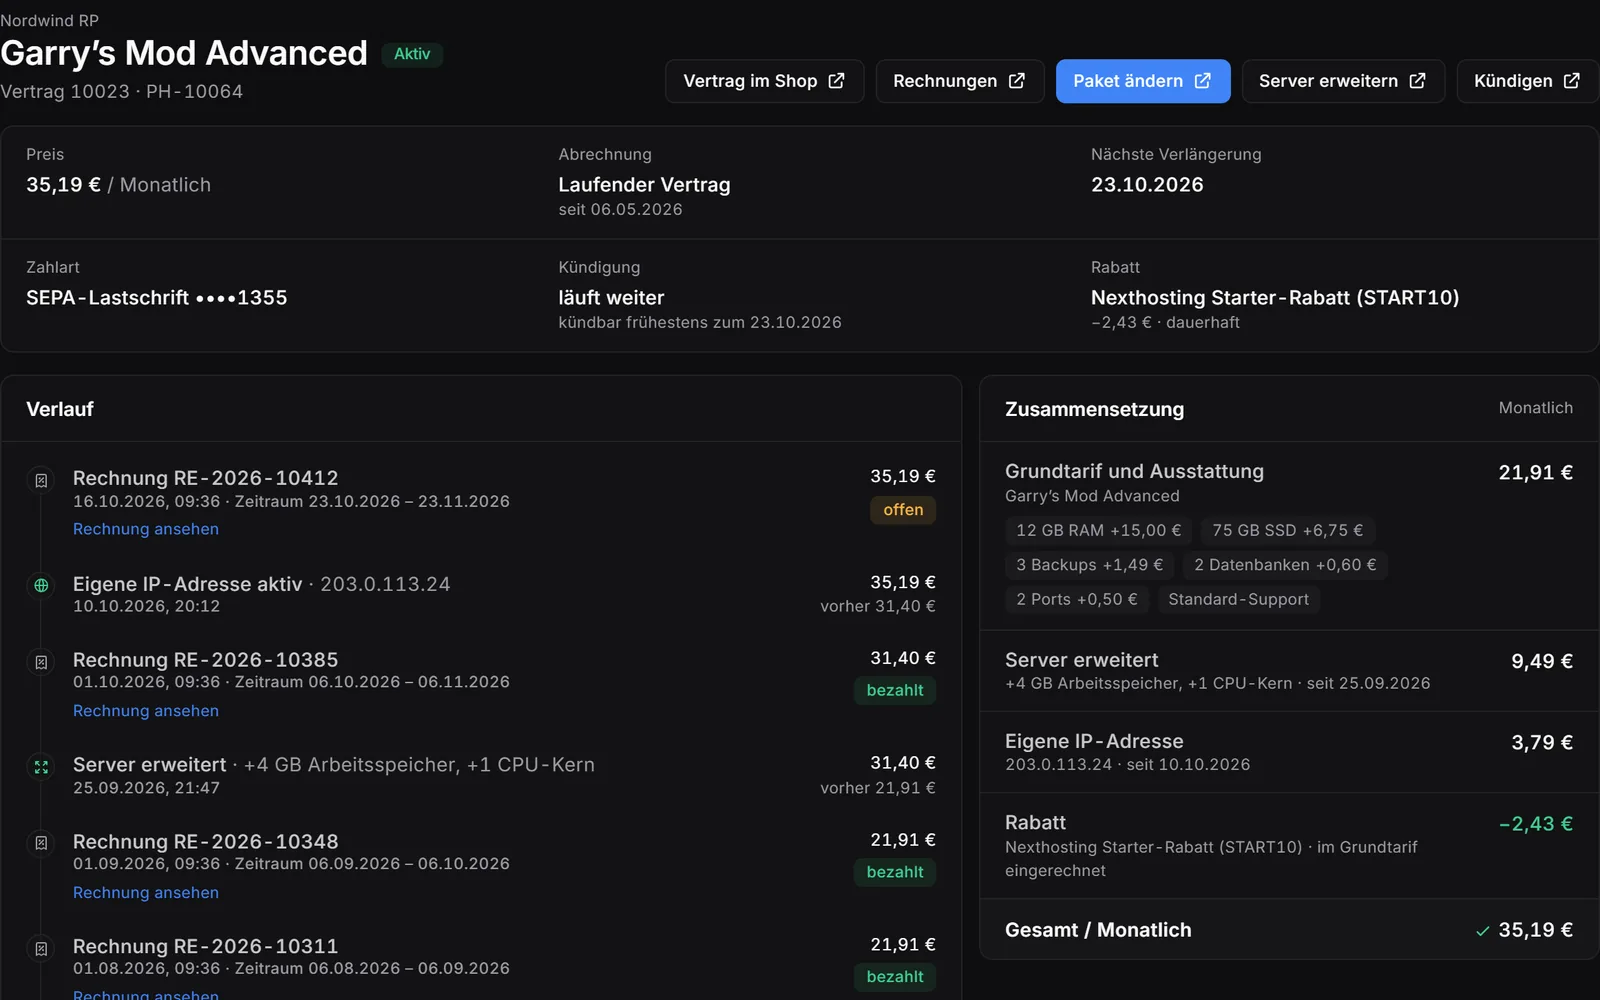
Real screenshots from the game server panel – example server with example values. Use the arrow keys to switch areas.
serverconfig.xml file in the main folder, you set the server name, world, world size, seed and a password for your players. You edit it with the file manager or via SFTP.SandboxCode in serverconfig.xml. You generate the code in the game’s sandbox options.Player count, updates, branch and telnet password are in the panel under “Startup settings”; everything else is in serverconfig.xml. According to the wiki, the file has more settings, such as admin slots that let admins in even when the server is full.
According to The Fun Pimps, you find servers in the game’s server browser. Alternatively, you enter your server’s IP address and port directly – there are two boxes at the bottom of the server browser for this.
serverconfig.xml.Steps according to The Fun Pimps; menu names can differ between versions.
Steps according to The Fun Pimps. Your server uses a block of several consecutive ports; your panel shows the assignment at start.
Nexthosting Schutz
Every game server at Nexthosting is protected against DDoS attacks at no extra cost – and you can see it in the panel: the “Attacks” page shows your server’s network traffic. With a dedicated IP address it gets a filter all to itself, right on the node, and you control it yourself.
All quiet. Blue means your players. They come through the gate in the filter – that is your server's port.
Example, no real data

Arriving right now 238Let through 238Turned away 4packets per second
Moving example from the protection panel: data packets run towards a filter. Blue packets – the players – pass through the gate to the server, during an attack too. Yellow packets – the attack traffic – are turned away by the filter.
Senders that open connections in bulk are locked out automatically while an attack is running. You lift any lock with one click.
Existing connections are never cut. Regulars – anyone who has spent a while on your server – get in straight away, even in the middle of an attack.

What gets through and what is dropped, over time; every attack with its peak and duration, plus where it comes from by country. One click on “Activate protection mode” tightens the filter at once. “Report attack” sends us an urgent notice, followed by a full report as a PDF – on request with a confirmation you can hand to the police or other authorities.

Block senders or always let them through – with a note and, if you like, an expiry time. During an attack the filter blocks flooding senders by itself; you see every block and lift it with one click.

Up to 60 seconds of header data of the traffic to your address – with one click or automatically as soon as an attack begins. The analysis by protocol, port and packet size is in the panel, the file ready to download.

Block countries or allow only the ones you choose; if you like, the protection blocks the countries an attack comes from by itself while it runs. You are told by e-mail and Discord, plus a monthly overview.

Even without a dedicated IP address the “Attacks” page shows your server’s network traffic and marks unusual spikes. The data centre’s basic protection always runs alongside.
You pick the dedicated IP address as an add-on while ordering. Server location: a data centre in Germany.
Your players can see for themselves whether the server is up and how full it is right now.
Included with every game server at no extra charge, you switch it on in the panel. Player count and map are available for games with a server query, online or offline is always shown.
Example: a Discord channel shows the status message of a server with 12 of 50 players, ping, uptime and address. Below it is a forum post whose signature contains the status banner of the same server. Both show the same player count.
Save 13% versus buying separately – with Discord bot, website and domain.
Costs, setup, player numbers and cancellation – answered briefly.
From €18.99 per month (Basic plan). The largest plan, Premium, costs €36.99 per month. The plans differ in memory, cores and storage. These are final prices, and there is no setup fee.
After payment, your server sets itself up. You open the panel straight from your customer account.
According to The Fun Pimps, you enter the IP address and port in the two boxes at the bottom of the server browser. You will find both in your panel. Your server uses a block of several consecutive ports; on start, the console shows the assignment. The game port is the first of them.
In the serverconfig.xml file in your server’s main folder. According to the wiki, the entries are called GameName, GameWorld, WorldGenSize, WorldGenSeed and ServerPassword. With GameWorld, you choose an existing world or, according to the wiki, RWG for a randomly generated one. Edit the file with the file manager or via SFTP.
Admins and their permissions are in the serveradmin.xml file. It is in your server’s saves folder, under .local/share/7DaysToDie/Saves. According to the wiki, there are also admin slots so that admins can get in even when the server is full.
Yes, if Auto Update is on: your server then checks Steam for new versions on every start. According to The Fun Pimps, a dedicated server also needs the right branch. If you play the experimental version, enter it under Beta Branch.
Saves are in the .local/share/7DaysToDie/Saves folder, one subfolder per world. Worlds you generate yourself are in the GeneratedWorlds folder. You can reach both with the file manager or via SFTP.
We do not limit slots – you pay for hardware. The player numbers on the plans are guide values; how many your server really handles depends on world size and game rules. You set the number in the startup settings under “Max Players”.
Yes. You can upgrade at any time; the change takes effect immediately and the difference is charged pro rata. Downgrades take effect at the end of the term. You can also add just RAM, cores or storage. Your data stays in place.
Yes. You book your own IP address as an add-on to your server. With it, you get up to 100 ports of your choice and the protection panel.
Yes, in every plan. Backup slots: Basic 2, Advanced 3, Premium 4. Back up with one click or set up your own schedule in the panel; restoring also takes one click.
In a data center in Germany. What applies to availability is set out in the Service Level Agreement.
Yes. With monthly billing you can cancel your server monthly. Paying in advance makes it up to 15% cheaper; the chosen term then applies. If you only need a break, you can pause the server – then you pay only for keeping your data.
